First Trip to Nepal
Nepal is one of my favorite countries. The mix of outdoor adventure with cultural sites was so unique. My husband, Colin, and I planned our first trip to Nepal a couple weeks before we arrived, while we were in India. Ideally, I would have planned more in advance. Our trekking guide said some people plan years in advance. We got lucky that we happened to plan our first trip to Nepal during the ideal time for trekking. September to November is prime time. This time period is after monsoon season and still not too cold. We started on October 2nd. It did rain a lot on the last day of our trek, and for a couple days after, so late October or early November may be even better.
Trekking Basics
We had never done an overnight trek before, and we were able to trek multiple days in Nepal – with some help. I would highly recommend having a trekking guide and porter with you during the trek. They know the local language, what to do if there is bad weather, and how to handle emergency situations. If you are strong and can carry your own gear then you don’t need a porter (and I applaud you), but you have to consider if you are able to carry all your gear on an incline. To say my upper body strength is lacking is an understatement, so we decided to have a porter without questioning it.
Best trekking company
Arranging your trip with a guide and porter is something you should plan in advance. There are a lot of trekking companies that organize trips for tourists so you have choices. If you google it, so many companies pop up.
We went with Authentic Adventures since a friend of ours went with them and had a great experience. Bhuwan is the owner and was also our trekking guide. Ram was our porter. Both were AMAZING!!! I highly recommend this company. If you want, they will organize everything for you: all activities, transportation, housing, and food. Alternatively, you can ask them to just organize the trekking portion, which is what we did. Check out their website to see everything they offer, including the cultural experiences they offer. After getting an idea of what you want to do, and for how long, I recommend emailing Bhuwan and he will develop a custom first trip to Nepal.
Trekking vs climbing distinction
One distinction I think is important to make is whether you want to trek or climb. I did not realize these were totally different during our first trip to Nepal, but they are. In Nepal people trek to mountain base camps where they then climb the mountain. You can also skip the climbing part and just trek. Considering we had never climbed more than a hill in our lives, we were definitely only going to be trekking.
Deciding Where to Trek
If you are planning on trekking, which I think is a must if you are going to Nepal, the first step is to decide where you want to trek. An easy way to think about it is whether you want to trek west of Kathmandu or east of Kathmandu. You will most likely be flying into the capitol city so that will be your starting point. The Annapurna range of the Himalayas is more west of Kathmandu and Mount Everest is more east of Kathmandu.
Mount Everest
At first, I thought, well of course I want to trek to Mount Everest, who wouldn’t want to be next to the tallest mountain in the world! That was very naive of me since it is not exactly easy to get to Mount Everest. You have to take a plane to get to the starting point for the trek to Mount Everest Base Camp. You could trek there from Kathmandu but that would take a very long time. The plane lands on a short airstrip in the mountains at Lukla airport. It is one of the most dangerous airports in the world. I heard that and I was not about to go that way since I do not like flying. Maybe someday I will have the guts to do it, but it wasn’t on this trip.
A few other things to consider is it takes almost 2 weeks to get to Mount Everest Base Camp and you need to account for possible delays. When we were in Kathmandu we met a woman in our hostel who had been waiting 4 days to fly to Lukla airport since the weather conditions did not allow for air travel. You need to have extra time on the front and back end of your trip to account for these possible weather delays.
Annapurna Range
If you are more of a newbie and not looking for a multi-week or multi-month trek (yes, people trek that long!), I would recommend heading west of Kathmandu to the Annapurna range. Don’t worry, I have an idea for you of a way you can still potentially see Mount Everest. If you are heading to the Annapurna range, you will be going to the city of Pokhara first.
To get to Pokhara there are two ways, bus or plane. The flight there is about 25 minutes. Due to my nervousness with flying through the mountains, I opted for driving via a tourist bus. I had read that the tourist buses are the way to go since other smaller buses can be more dangerous if the drivers speed around mountain turns too quickly.
The bus ride on the tourist bus is supposed to be 6 hours, but that is a lie, it took us 11 hours to get there and 12 hours to get back. However, we were traveling during a busy festival time. Wider roads and tunnels are being built, so hopefully the transit time will be less in the future.
Be prepared for a bumpy ride (especially after monsoon season since there are a lot of pot holes) and no toilet on the bus. You make stops for food and restroom breaks (standing restrooms and no toilet paper). Always carry wet wipes/toilet paper and hand sanitizer. Now the seat comfort level on the bus was actually pretty good, especially on our bus ride back to Kathmandu. We were on a tourist bus that had super comfy large leather seats, only three across. The seats looked like fluffy couches. The price for the bus is definitely cheaper than flights, however flights were not outrageous. If you take the bus be prepared for it to take all day to get to Pokhara from Kathmandu and vice versa.
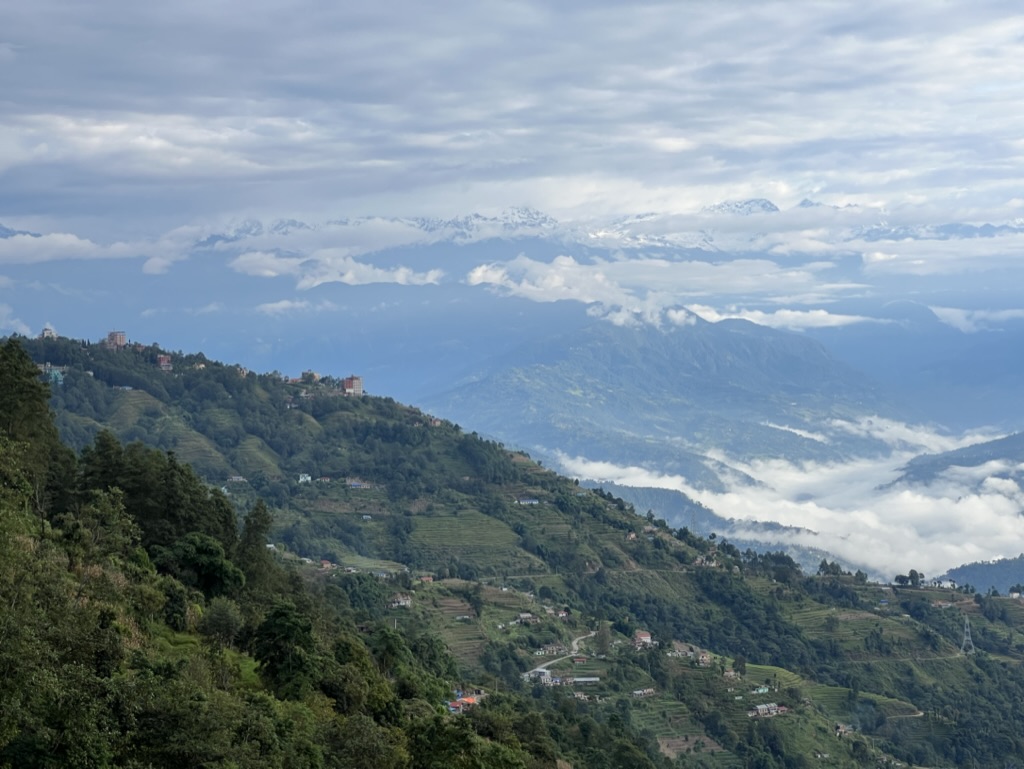
A funny thing happened on the bus ride to Pokhara from Kathmandu. We were talking to a man sitting next to us who was from Nepal. I mentioned how large the mountains we were driving through seemed. He laughed and said, “these are not mountains, these are hills.” My concept of a mountain suddenly got a lot larger and when we were looking at the “real” mountains I truly understood what he meant by that.
The City of Pokhara
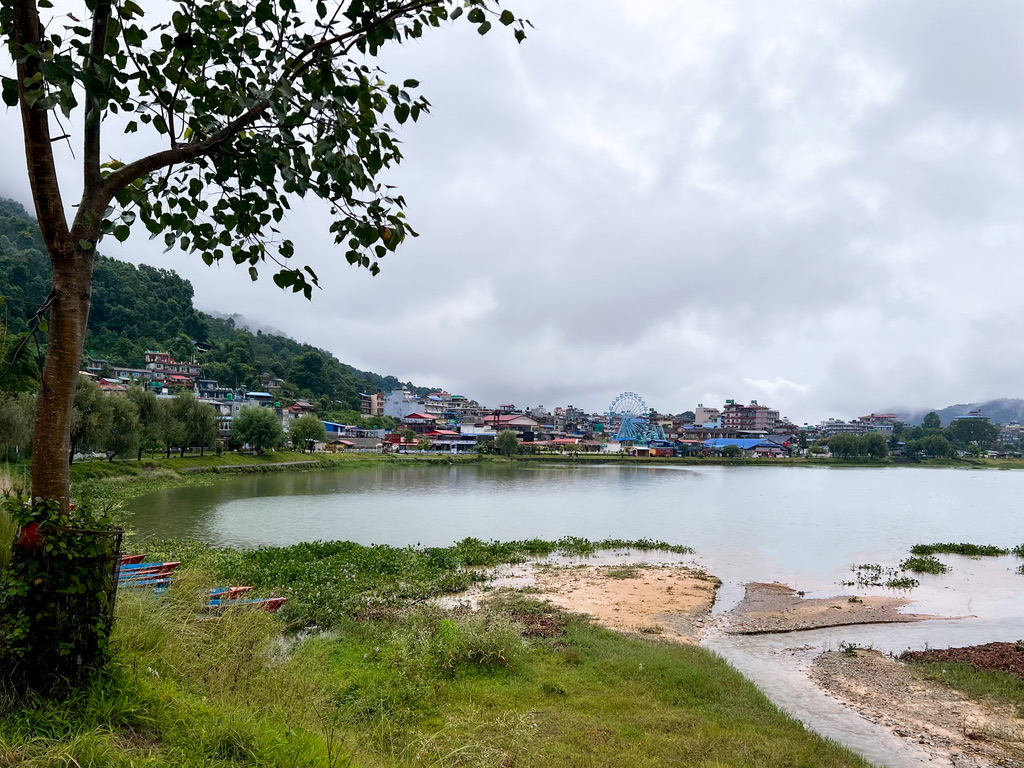
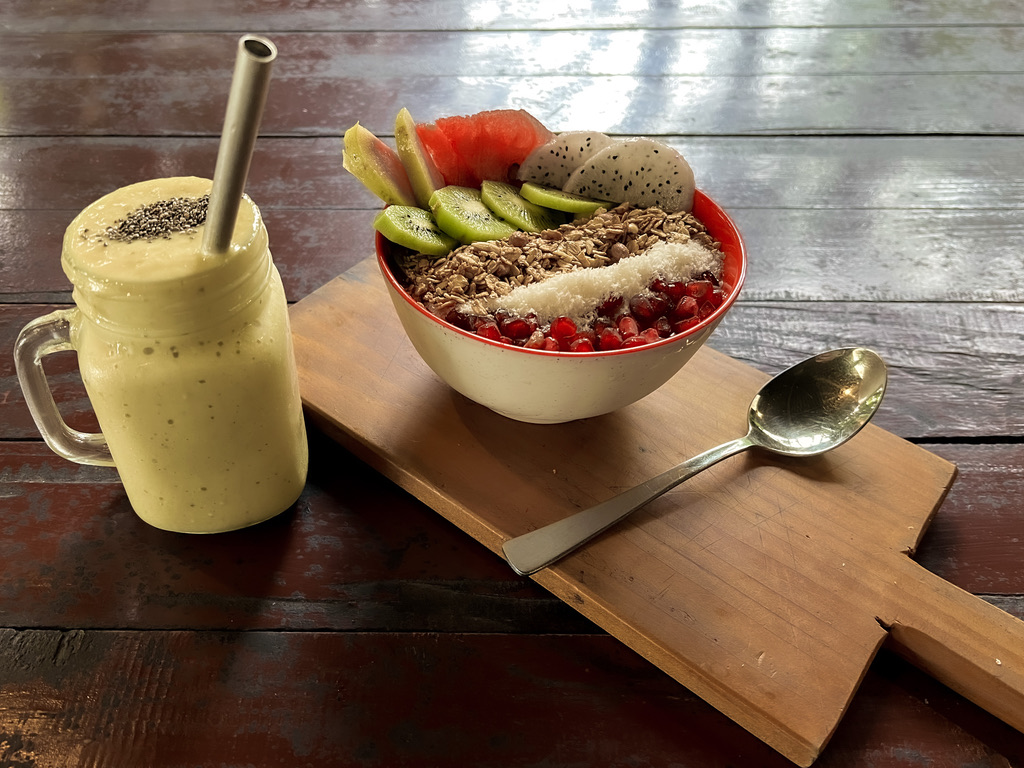
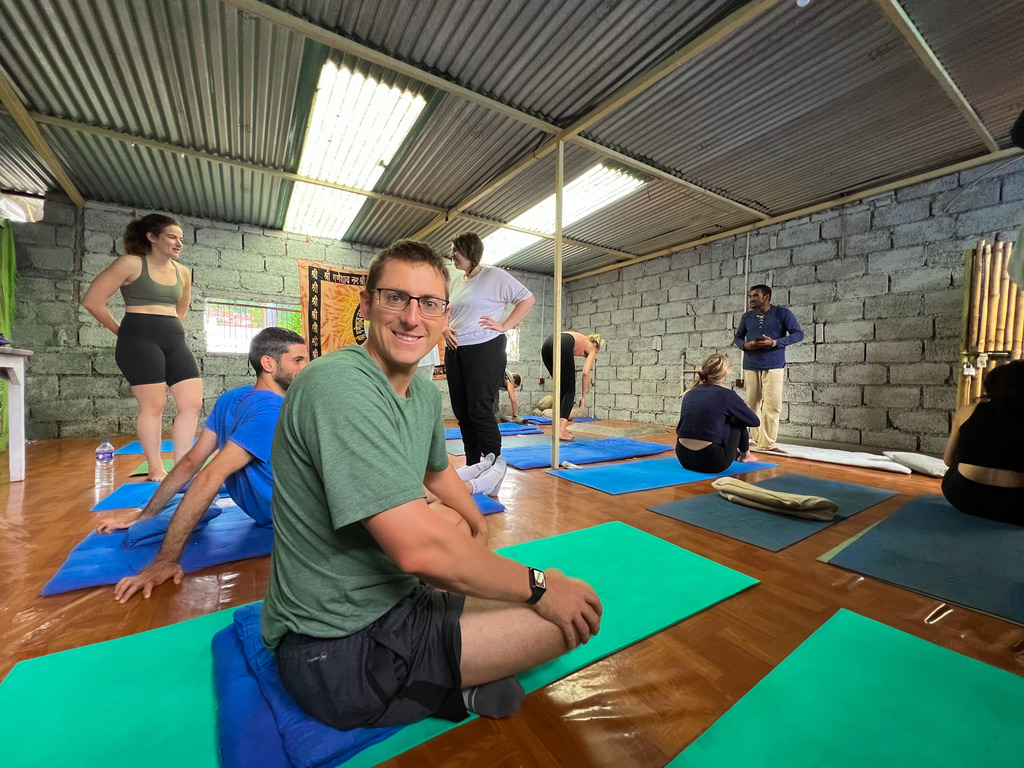
Pokhara gave me hippie vibes. It is a super chill city next to a lake with cool coffee shops and vegan restaurants. We loved the restaurant Vegan Way. The smoothies there are amazing! We also took a relaxing yoga and meditation class there, which they offer on a regular basis.
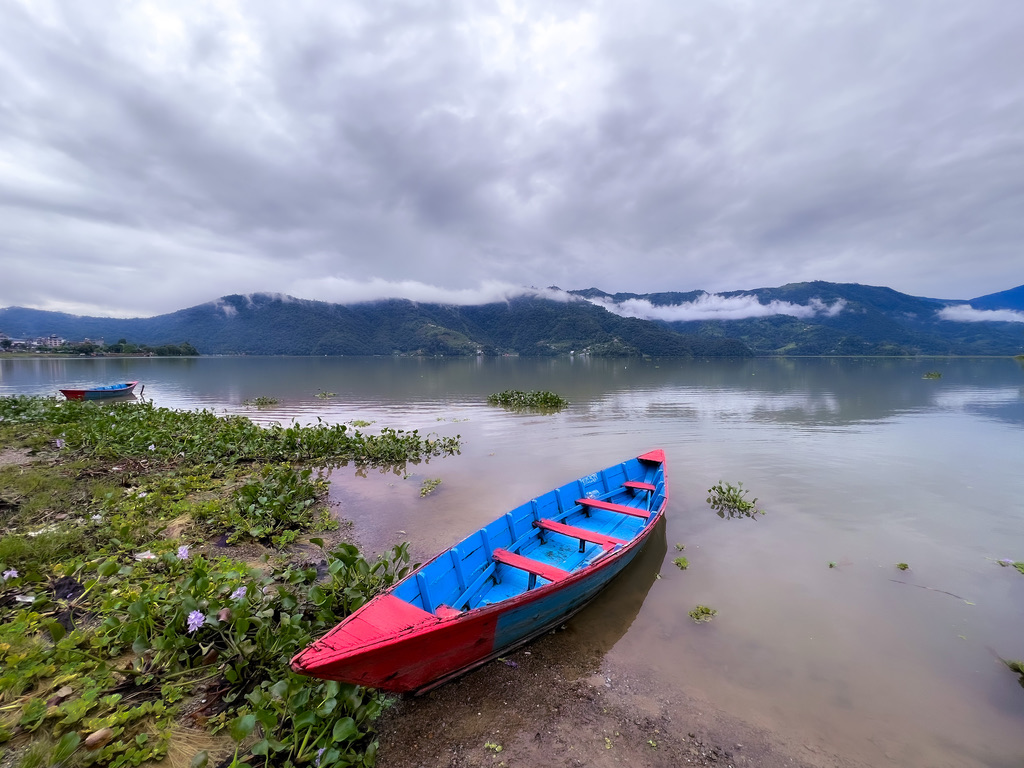
Pewha Lake
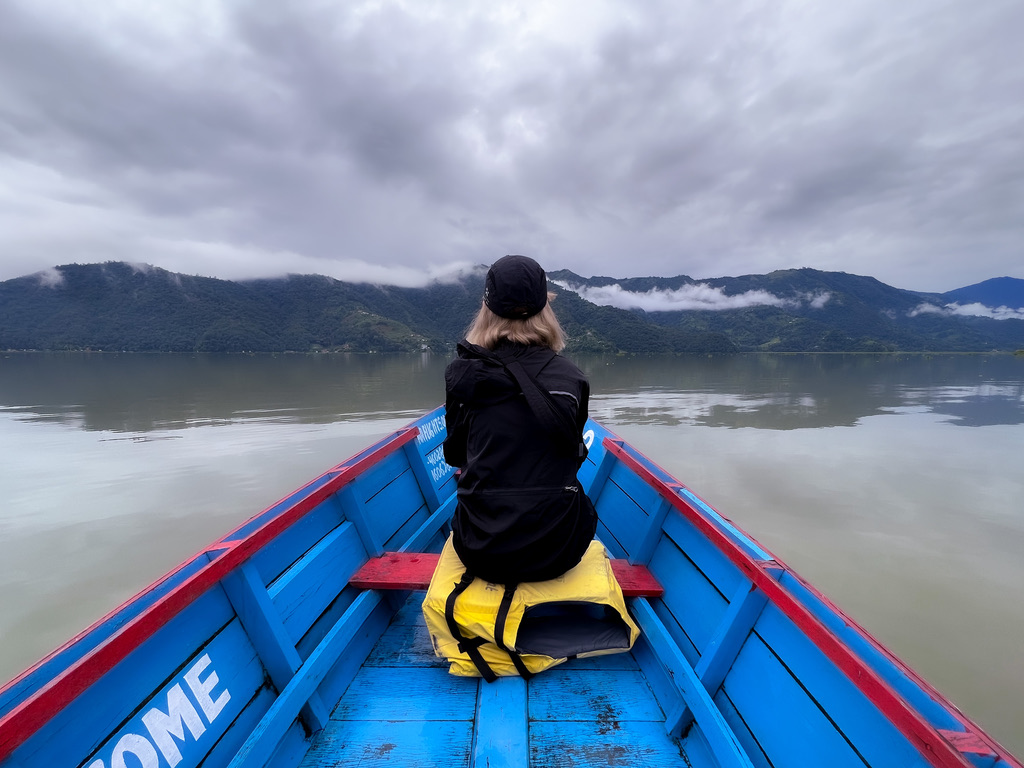
A fun activity to do in Pokhara is rent a canoe type boat and go across the Pewha Lake and then hike up to a pagoda on the other side. You can rent a boat and pay someone to row the boat for you. The rental place was right alongside the lake on the sidewalk that runs adjacent to the lake. It is worth paying someone to row for you since the lake is further across than you would think. It took about 30 minutes to get across. Pokhara is an awesome city to explore, but I would actually recommend doing the previously mentioned activities after the trek, instead of before, since Pokhara is a good place to relax post-trek.
Where to Buy Trekking Gear
For trekking gear for your first trip to Nepal, you will likely get a list of necessary supplies you need to bring, from your trekking guide, prior to the trip. Your guide may also allow you to borrow some equipment for the trek – Bhuwan brought all the larger gear we needed, which was so helpful. Since we were coming from India we did not have much of anything. Thankfully, there are so many shops you can buy trekking gear from in Kathmandu and Pokhara. There are a lot of trekking shops in the Thamel area of Kathmandu, which is a touristy area.
In Pokhara, the shops are along the main strip downtown. We bought everything we needed the night before the trek in Pokhara. Make sure you check out multiple shops to get an idea of average prices versus buying gear at the first one you see. They all had similar gear so it is advantageous to figure out the going rate. Also, make sure you barter the price down so you don’t get ripped off.
Overall, the gear in Pokhara seemed nicer and higher quality compared to the gear in Kathmandu. This is definitely just an opinion, but we went to A LOT of trekking stores in both cities. Prices were similar in both cities for the gear. Be aware the gear is often fake name brands which is why it is so cheap. This often comes with a decrease in quality so be careful what gear you buy from these shops. I did feel it was safe to buy pants, light jackets, shirts, hats, and light gloves from these shops, as the quality of these seemed pretty good. However, we bought a large trekking backpack for $10 USD and thought we got such an amazing deal but then the zipper broke the next day – so some gear you pry should invest in something nicer.
First Day of Trekking
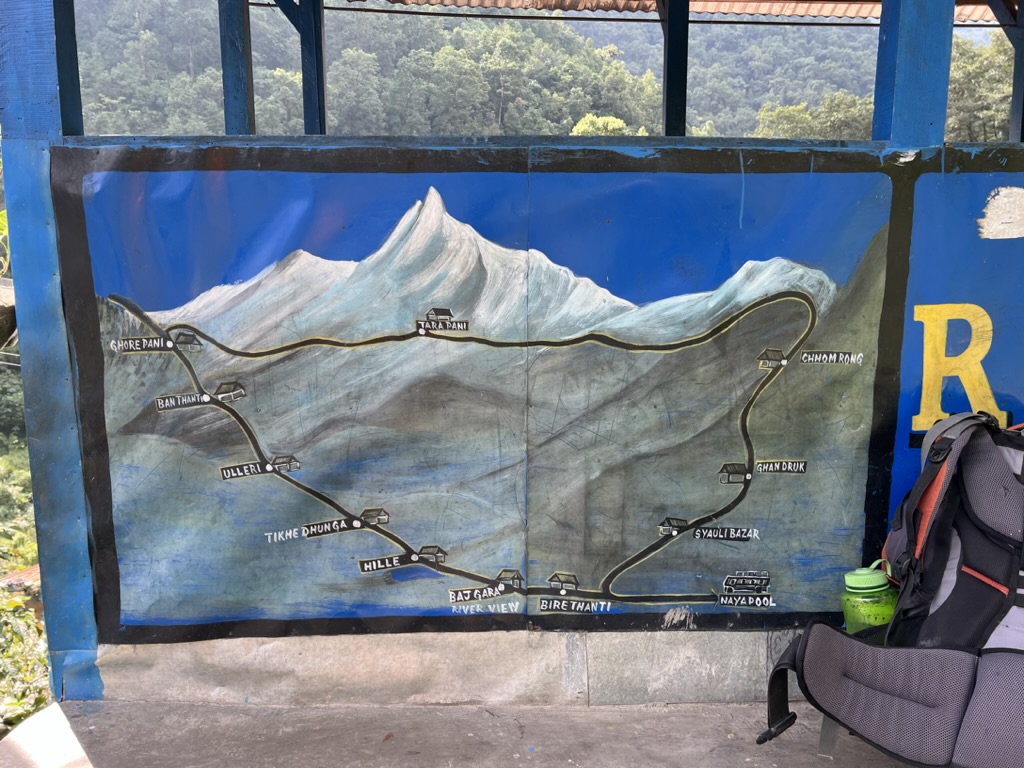
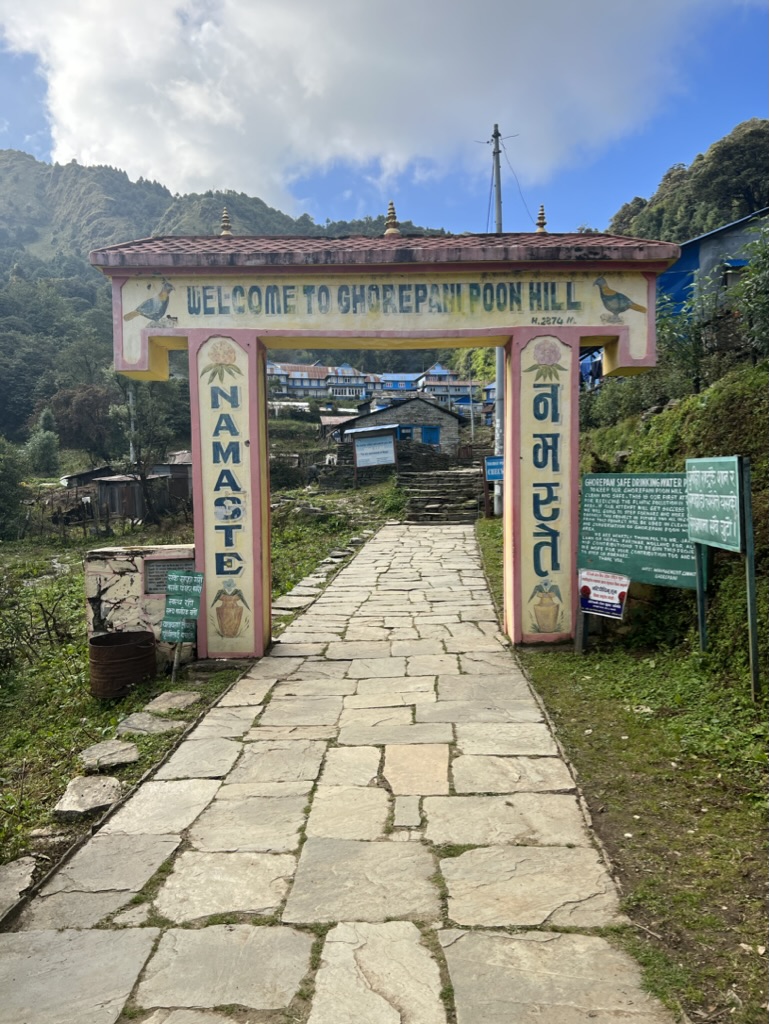
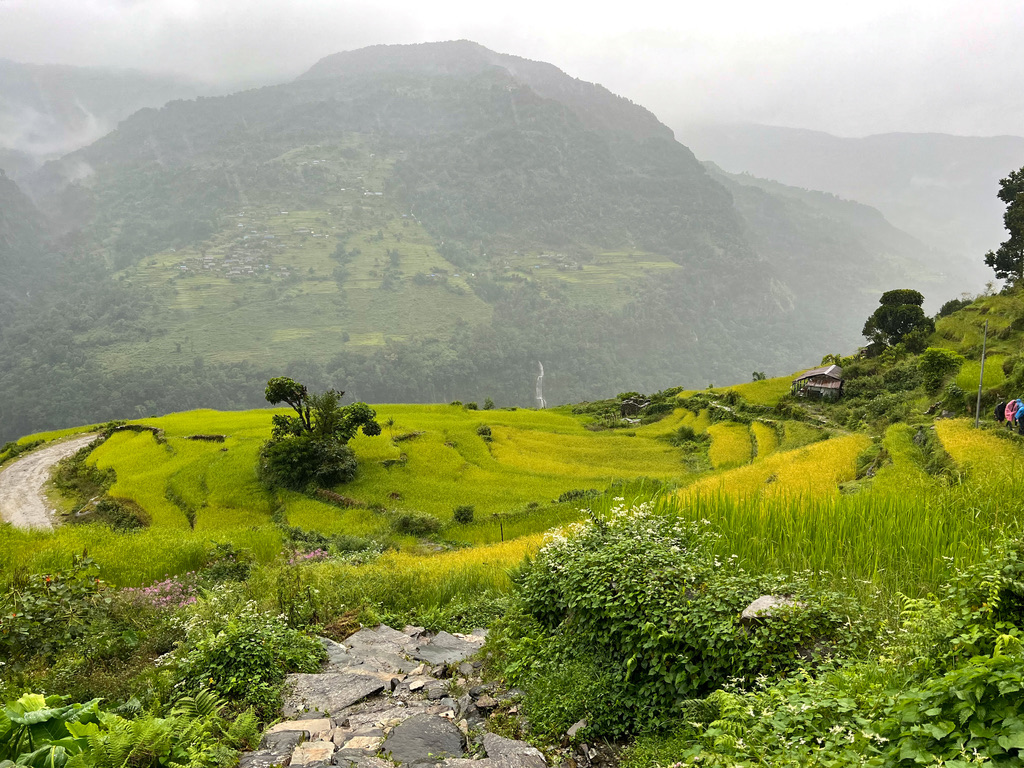
The day of the trek, your guide will likely pick you up from your hostel/hotel/air bnb and you will drive to the starting point of your trek. We did a shortened version of the Annapurna Panorama Trail that took us 4 days. The whole Annapurna Panorama Trail usually takes about 6 days. We initially were interested in doing the Poon Hill Trek, which goes from Birethanti up to Poon Hill and then back down the same way, usually in about 3 days. Bhuwan recommended adding a day so we could do a circuit instead of going back the same route. This was a great recommendation since it was so much more enjoyable doing a circuit and seeing new landscapes the whole trek.
If you want to do a longer trek I think it would be cool to do the Annapurna Base Camp (ABC) Trail which is about a 10-day trek. There are so many different options due to there being so many trails in Nepal. Your guide can customize a trek that fits your skill level and the amount of days you want to trek. Note: you need permits to enter certain trekking areas, but this is another thing our trekking guide took care of for us.
Outline of our trekking itinerary:
Day 1 – Drive to Nayapul from Pokhara (1.5 hour drive). Walk to Birethanti where the Annapurna Conservation Area Checkpost and Information Center is located. Trek to Tikhedhunga (4-5 hour trek)
Day 2 – Trek from Tikhedhunga to Ghorepani (5-6 hour trek)
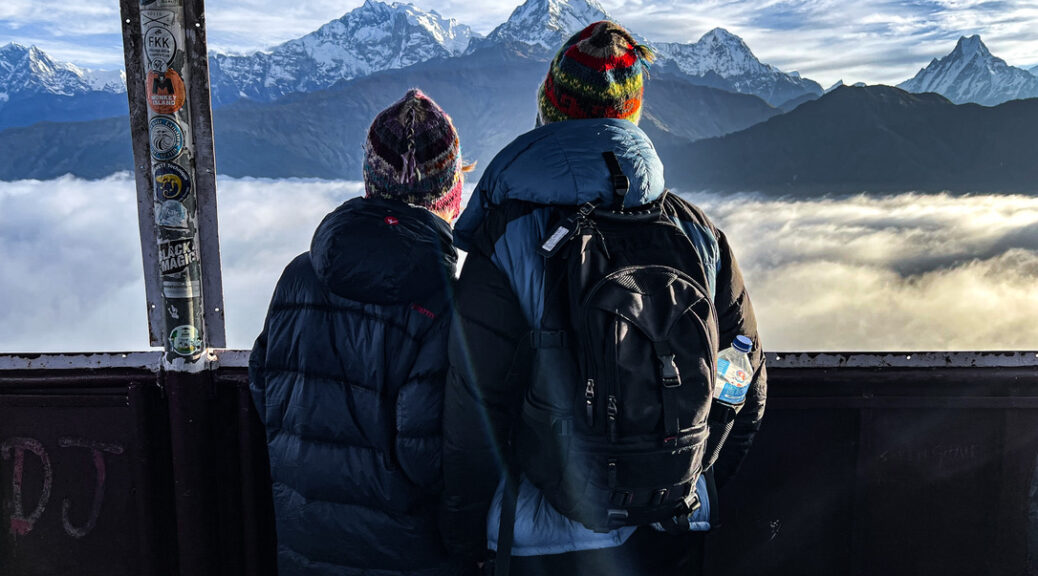
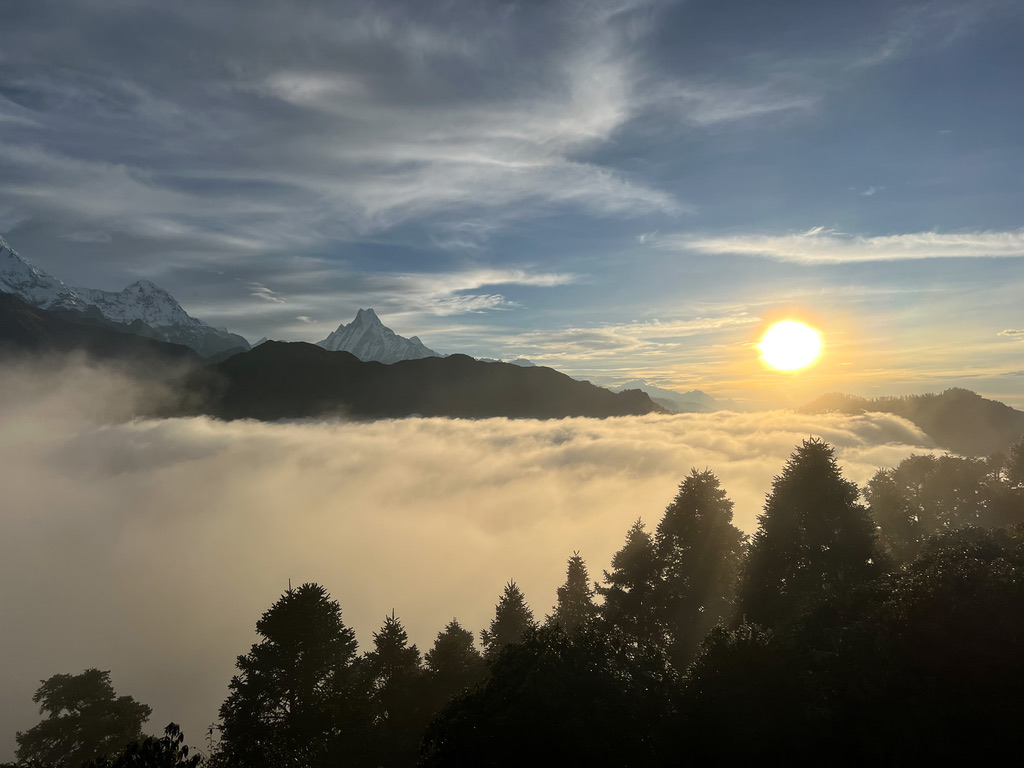
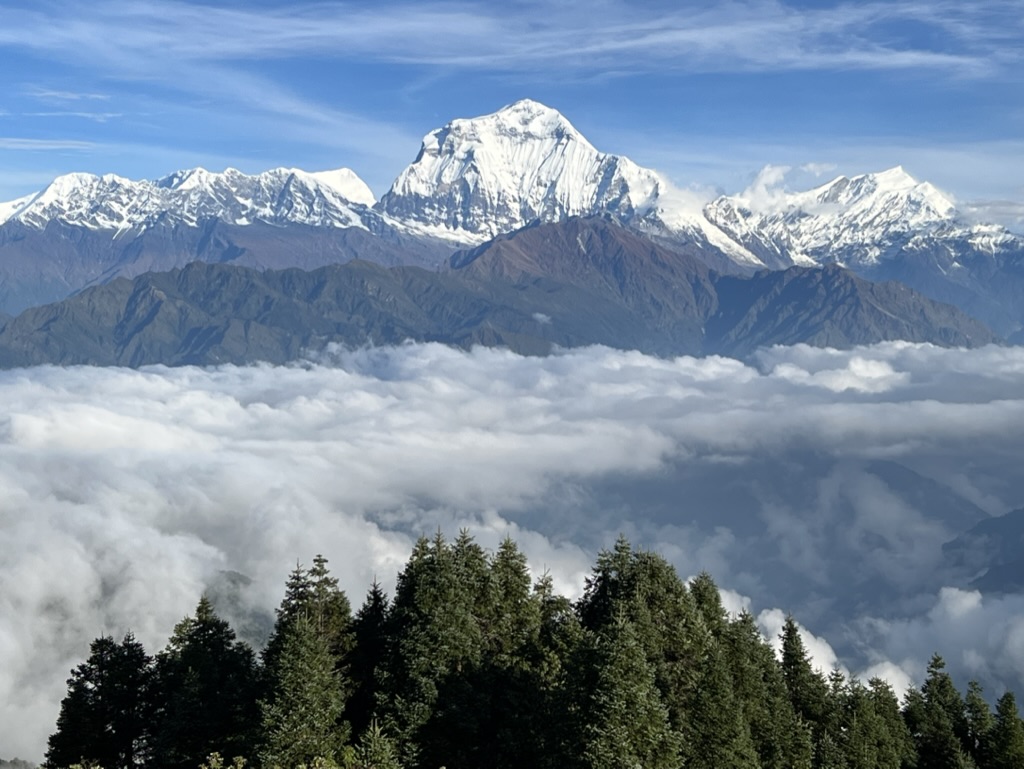
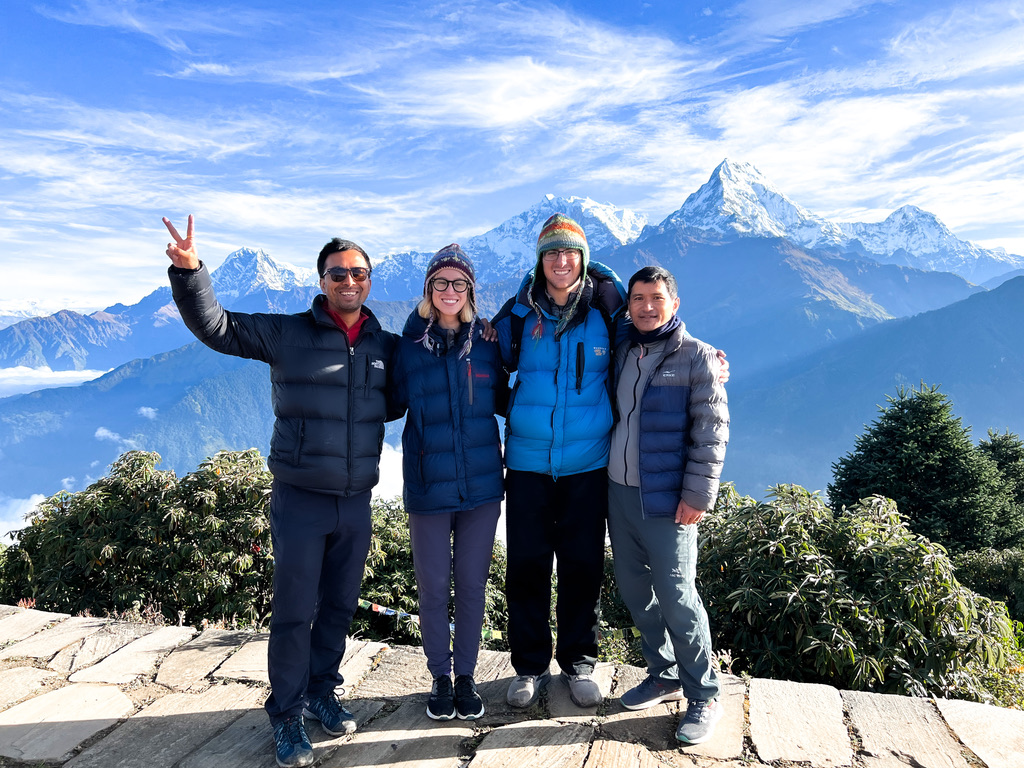
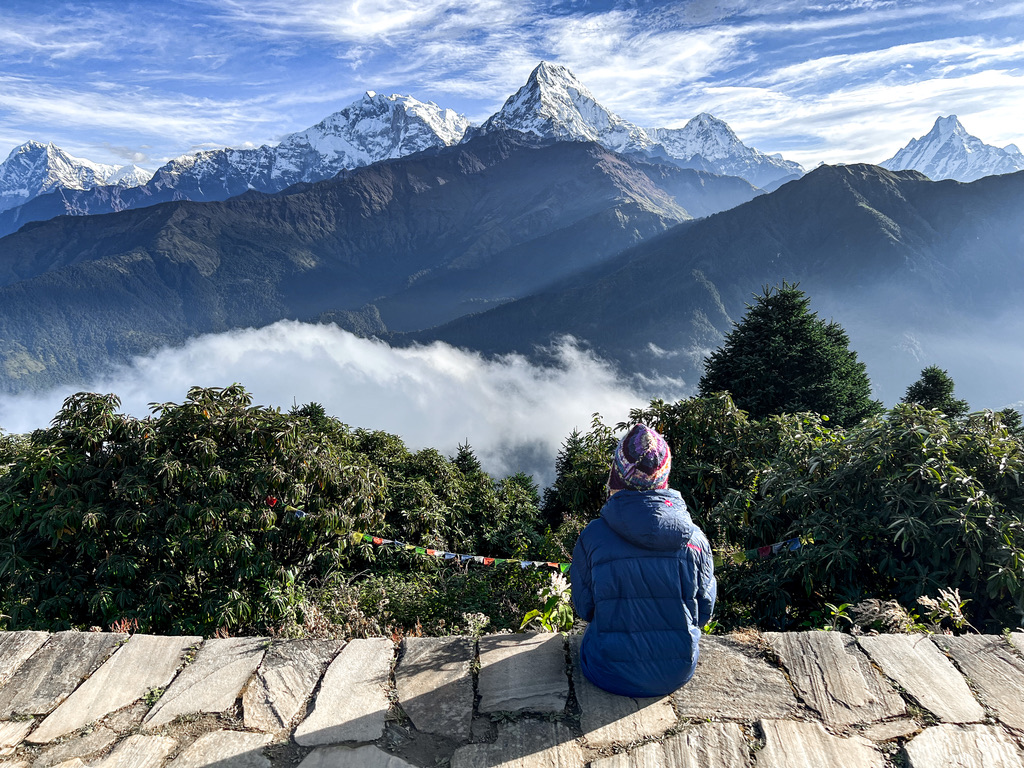
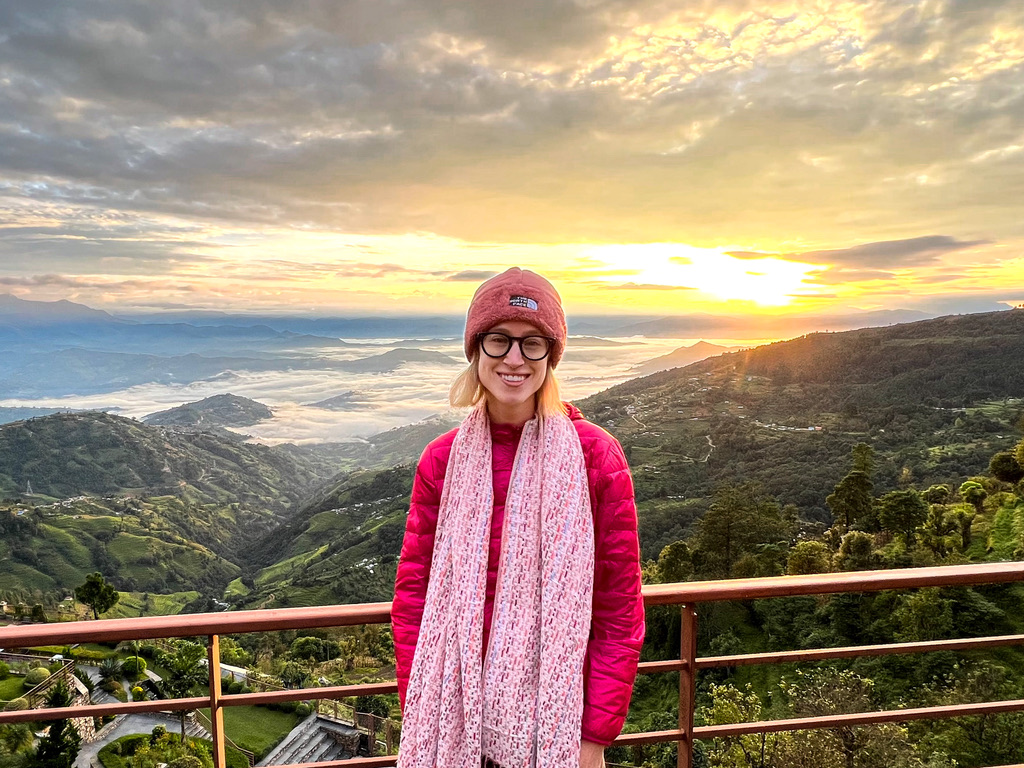
Day 3 – Hike to Poon Hill for sunrise where there are the most incredible views pending how foggy it is that day (1.5 hours both ways). Trek to Tadapani (5-6 hour trek)
Day 4 – Trek from Tadapani to Ghandruk (2-3 hours)***. Drive back to Pokhara (3 hour drive)
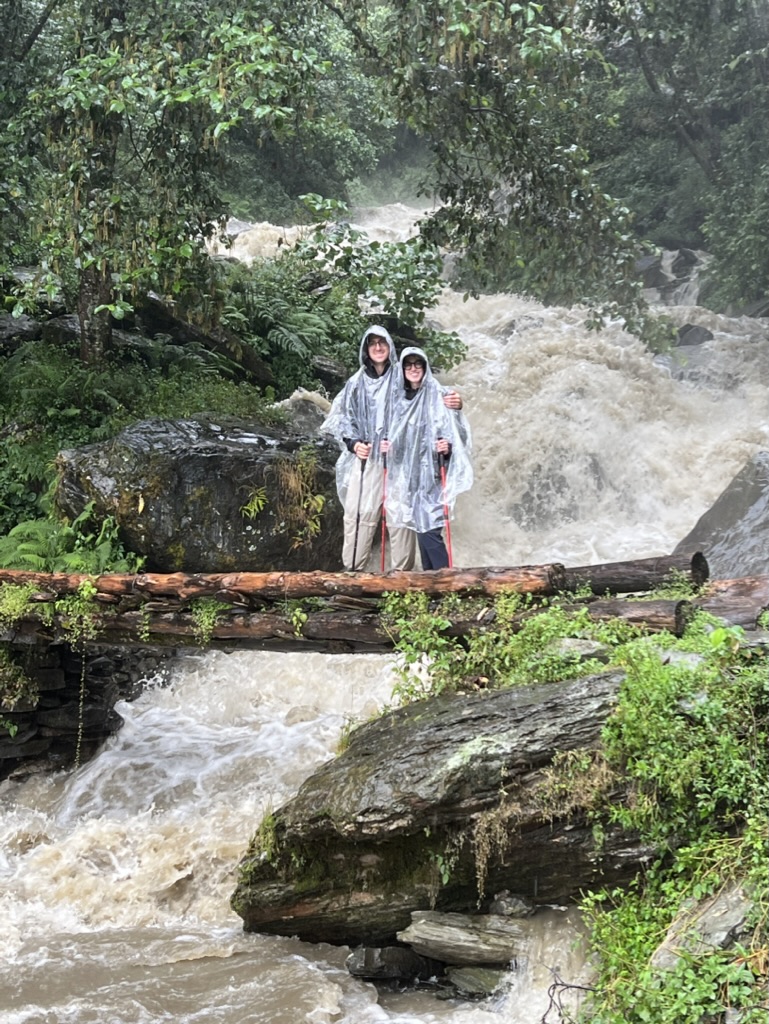
***we ended up trekking longer the last day. We went all the way to Birethanti instead of ending in Ghandruk because of bad weather. Due to flooding, Jeeps were not able to make it up to Ghandruk. This ended up working out ok because we did a whole circuit back to Birethanti instead, and took a van from there.
As far as difficulty of the trek – although we did not train for the trek, we are somewhat athletic and we had been walking a lot in the prior weeks in India. We also had done a couple short hikes up to tourist sites in India, which I think helped strengthen our leg muscles involved in incline walking. That being said, we did not think it was super tough, especially because you can take breaks when needed. I think most people could do the trek we did. There were parts that were tiring and more difficult, but the trail is pretty well carved out.
Be Safe!
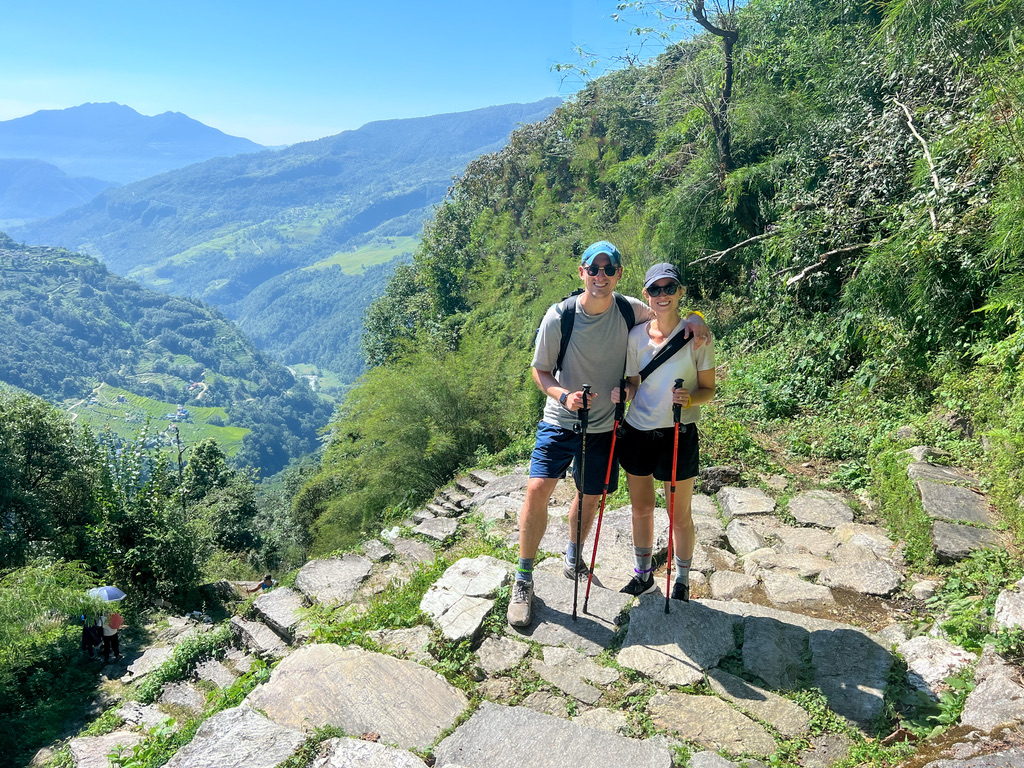
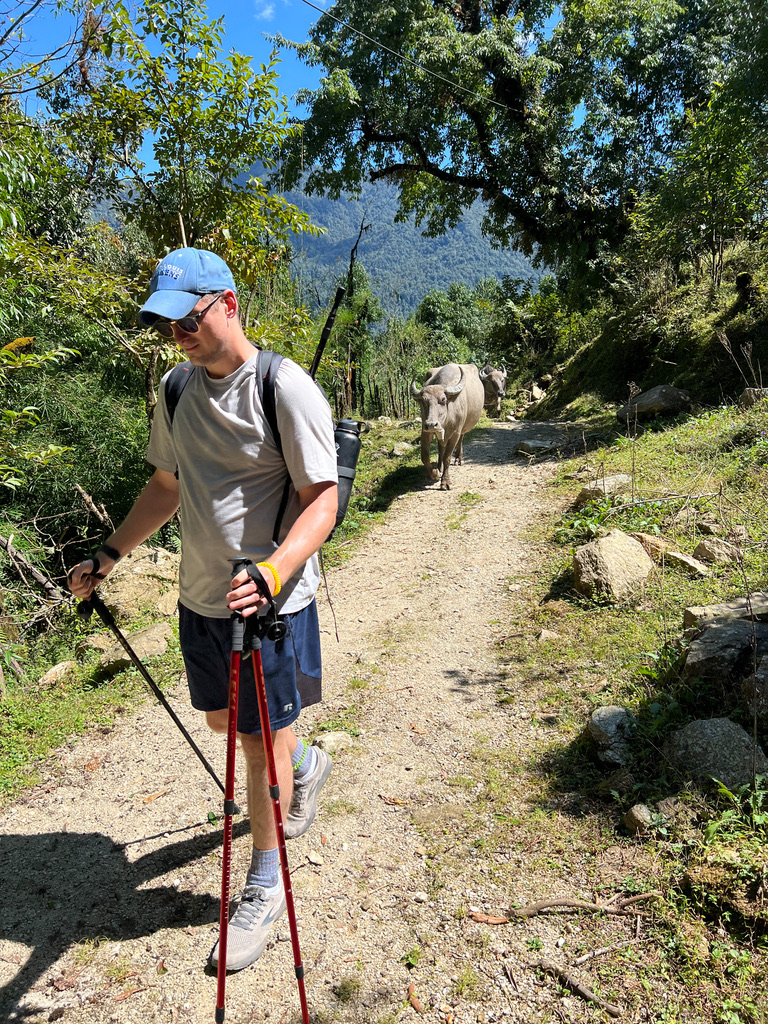
It was slippery in parts and it is important to watch out for wet red mud, flat wet rocks (especially the colored ones), and green moss on rocks since those are extra slippery. Initially I wasn’t sure about using trekking poles, but once I got used to them, I started to love using trekking poles and found them really helpful. Another safety mention: Do not take photos while walking, as tempting as it may be. Trust me, I wanted to take photos of everything because it was all so incredible!!
I had a scary event happen at Poon Hill. We were about to take a photo standing on the edge with the mountains in the background, but I couldn’t see well into the sun. I started to open Colin’s backpack while he was wearing it since that is where my sunglasses were. He happened to turn at that same time confused by why there was a tugging on his bag. As I was reaching for my sunglasses, I lost track of my footing, and all of a sudden realized there was nothing under my feet. I fell down the mountainside, I think blacking out for a moment or two. Thankfully, I got stuck in some bushes and trees. Bhuwan and Ram rushed down to help, and they got me back to flat ground quickly. I was ok, just very shaken up. I was extremely careful after that.
If anything happens where you cannot walk and you are on the trails past the point where there are roads, you have to be helicoptered out. It is not safe to try to carry an injured individual through the trails. Make sure you have travel insurance. Also, it may be a good idea to get a Nepal SIM card at the airport. They were cheap and otherwise you may not have service. We did not have service, but our guide did so it was ok, and there was sometimes wifi available.
Altitude sickness
There were people on the trek that were affected by the altitude but we were lucky we were not affected. Something I did not realize before the trek is you need to take breaks as you are increasing in altitude to prevent altitude sickness. Also, you need to drink a lot of water. You should drink bottled water (which you can buy along the trek) or buy tablets to put in your water bottle to sterilize the water. Otherwise you will likely get sick. Food and drinks get more expensive the further away/higher in altitude you get so this is something to keep in mind. It was nice that through our trekking trip package food and drink (besides water or alcohol) were included.
The Tea Houses
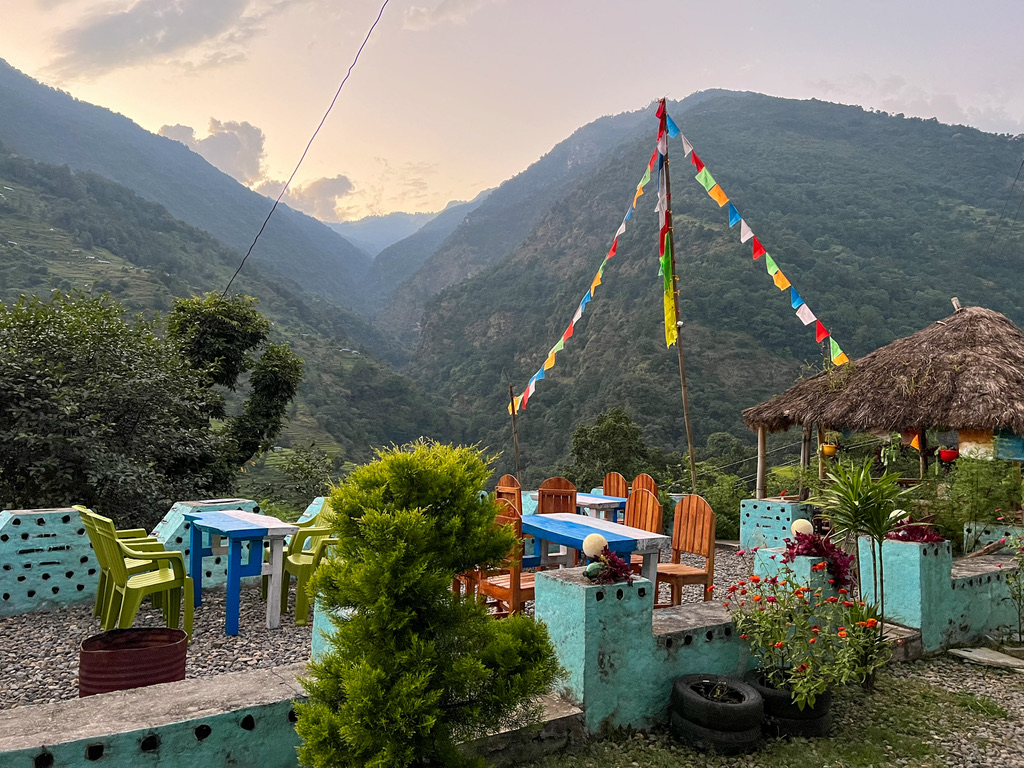
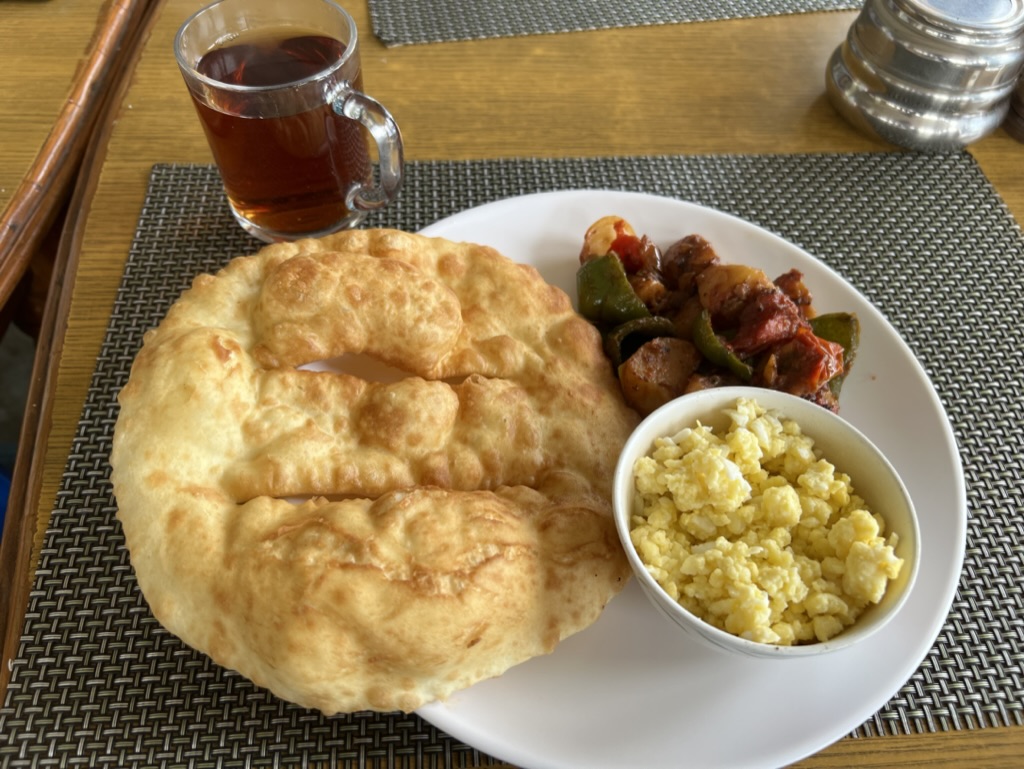
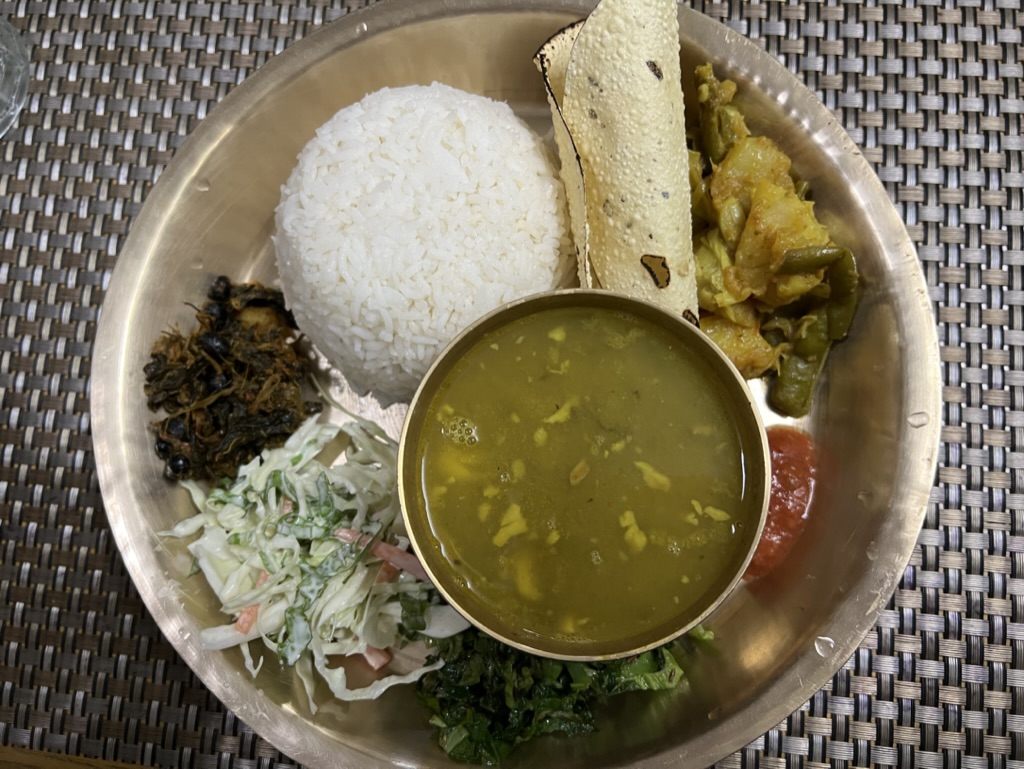
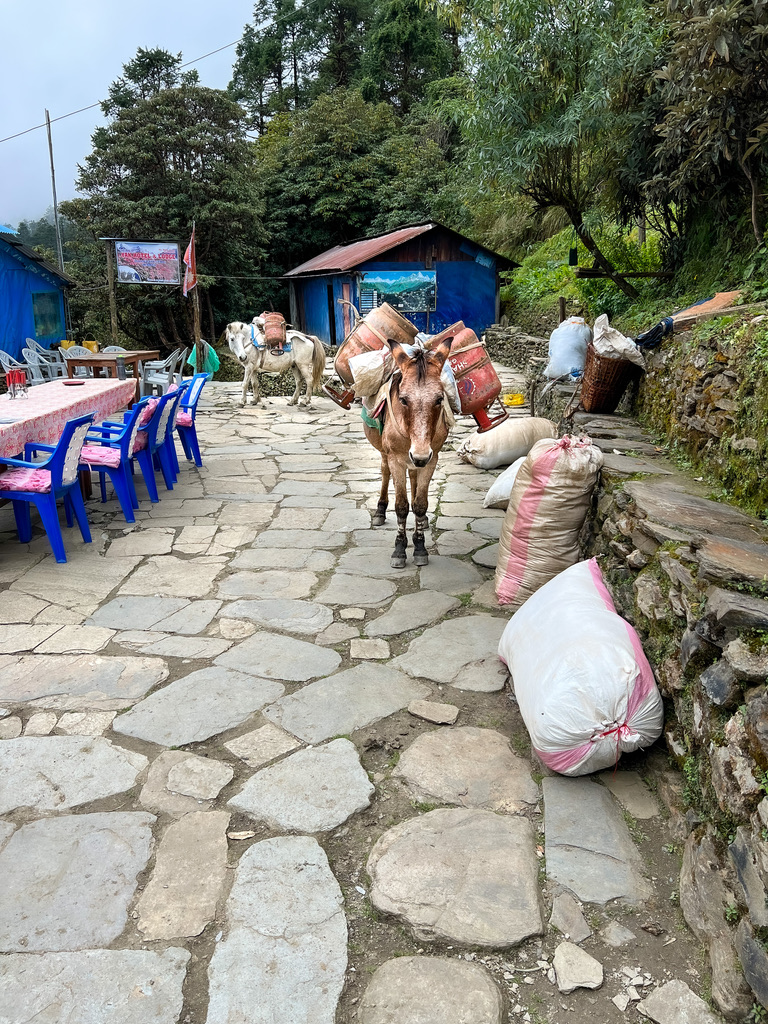
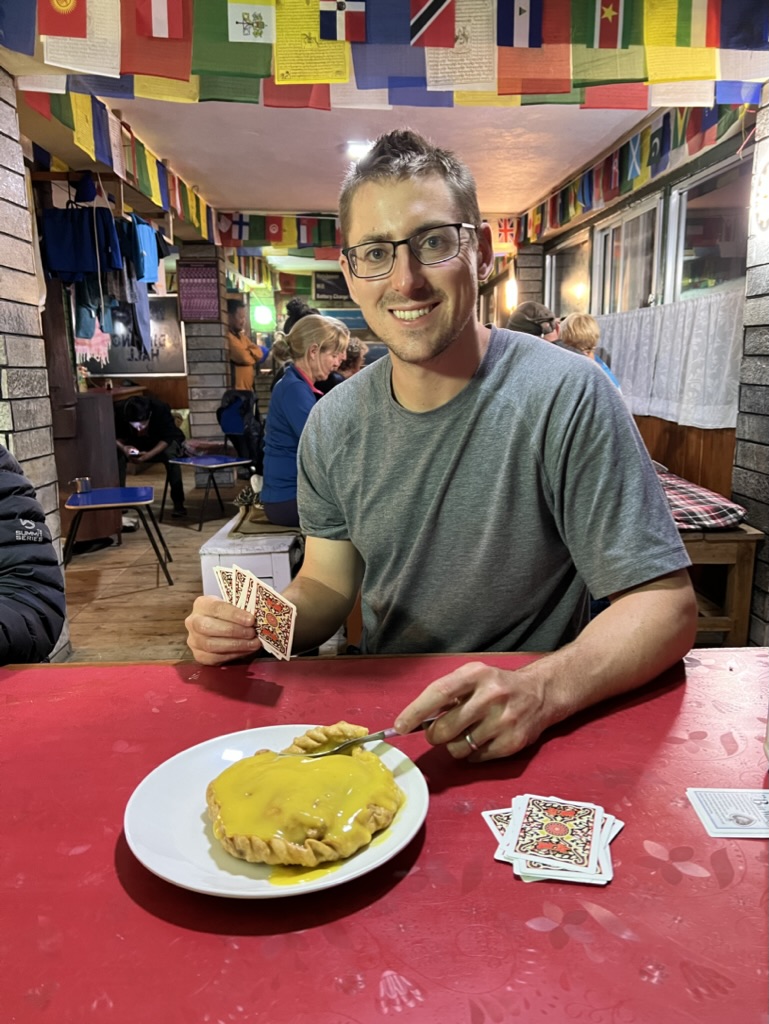
Something super unique about Nepal is there are tea houses throughout the trails. Sometimes they are together in little villages, and other times they are alone on the trail. You can stop at these tea houses for a tea or coffee break, to eat a meal, or to sleep. There are so many tea options: lemon, ginger, mint, black, milk teas. Some popular foods you have to try are Dal Bhat and mo:mo (dumplings). If you order Dal Bhat you get unlimited helpings at no additional cost. I am vegetarian and had no issues finding food to eat on the trail. The food was really tasty! Also, Poon Hill is known as the apple pie trail – we had delicious apple pie for dessert every night! Another amazing food is Tibetan/Gurung bread. Add some local honey on top and you won’t regret it.
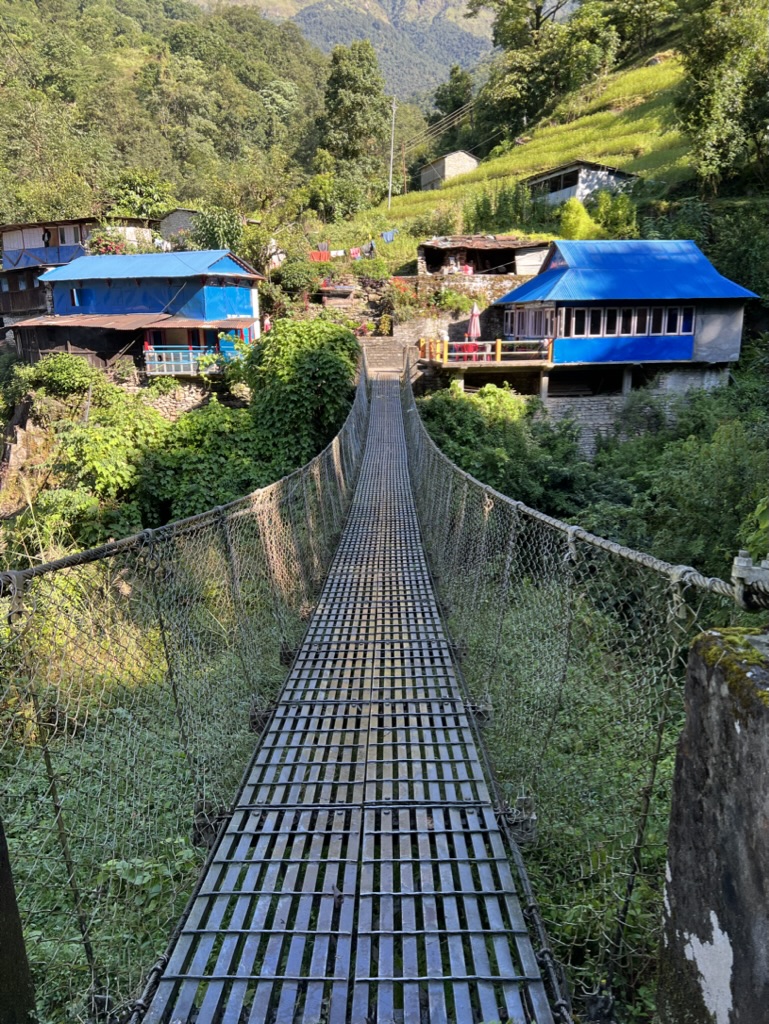
It was nice how our guide picked out where we would stay each night so we did not have to worry about accommodations. For housing, it is not a 5-star hotel, but you are also not sleeping in a tent. The tea houses we stayed at had nice beds, with comforters and pillows, and mostly hot showers.
It is helpful to have a clothes hanging line in case the tea house does not have one so you can hang your clothes if they are wet from sweat or rain. Also, you can hang your towel to dry. I brought a very thin towel which was perfect since it dried fast. A few other random things that may not be on the needed gear list, but would be helpful are: laundry soap bar, bar soap/shampoo/conditioner (versus bottles), handkerchief or bandanna for around the neck to wipe off sweat, two pairs of shoes (hiking boots and sandals that you can wear socks with), mosquito repellent bracelets or stickers, rain pants, plastic bags to put stuff in inside your bag (in case it rains), a poncho to go over your rain coat and day pack.
We actually did the trek in tennis shoes which was fine for the short trek we did. I wore Vessi shoes which are water proof and worked well. If you have hiking boots that would be more ideal, but it was nice not having to bring large boots.
On the subject of day packs since this is something I didn’t realize how it worked. Typically, you bring a small backpack (“daypack”) where you put things you will need for the day including a poncho, jacket, bug spray, sunscreen, Band-Aids, water, etc. Everything else goes in a larger bag that your porter carries. You won’t get that bag again until you get to a tea house each night because it will be all wrapped up/combined with the other bags the porter is carrying.
Leeches
On the subject of gear for the rain, something I did not know came out in the rain is leeches. Those little buggers are the worst! They sense movement below them and drop down from the trees. Leeches then attach to your skin and suck out the blood. Even though they do not harm you, it will cause your skin to bleed in the area they sucked on. Make sure you wear pants and do not have exposed skin if it is raining. If something itches, check if it is a leech.
After the trek some friends we made on the trek told us to put salt on an attached leech and this will help remove it – they attach tightly! When it was sunny and the altitude was not very high we were wearing shorts since it was really hot. At night and at higher altitude it did get cooler though, and it was beneficial to have pants and a warm winter coat.
Tipping
It is customary to tip your guide and porter at the end of the trek. Give the money in a separate envelope to each individual and hand it with your right hand. We read that it can be disrespectful not to do it in this manner.
Nagarkot
Since after the trek I still wanted a chance to get a glimpse of Mount Everest, we decided to go for a day to Nagarkot, which is a city about an hour east of Kathmandu. From here, if the sky is clear, you can see a little of Mount Everest. Unfortunately, we woke up at sunrise, but the sky was not very clear. The views were still amazing and it is worth checking out.
One thing of note, is if you arrange for a taxi there and back, which you should do, make sure it is before 6 PM. If it is after 6 PM you will be charged extra for any taxi ride in Nepal. We learned that the hard way. A ride-share service you could check out on your phone is Pathao.
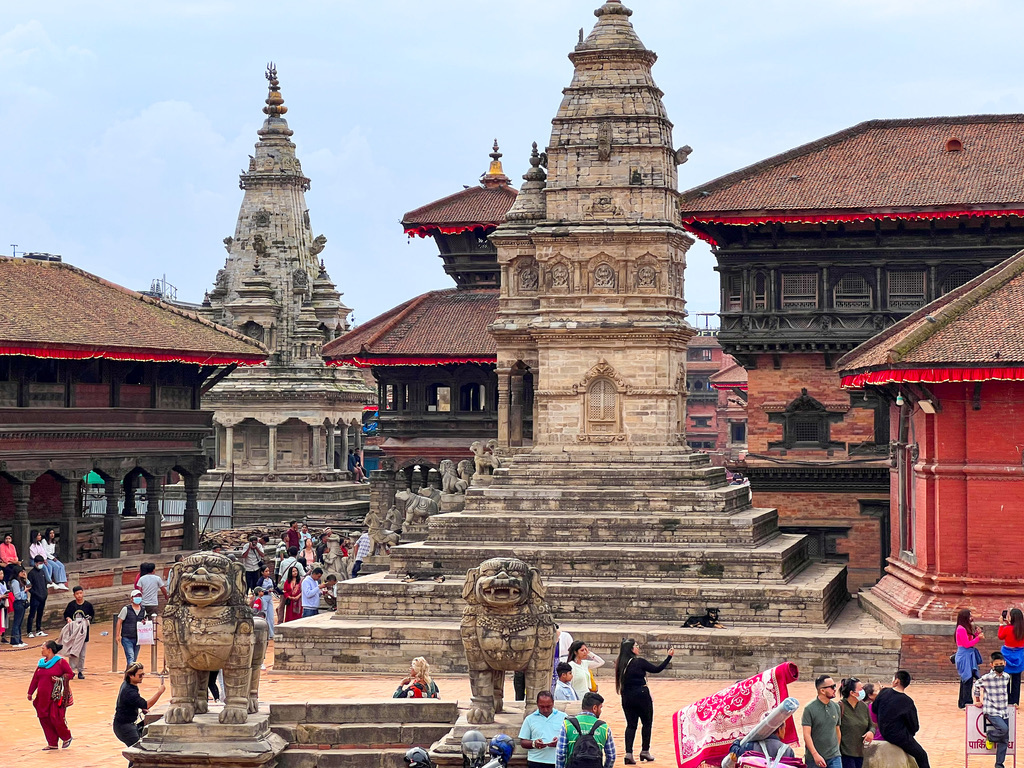
On the drive to or from Nagarkot you should stop at Bhaktapur Durbar Square, which is a UNESCO world heritage site.
Kathmandu
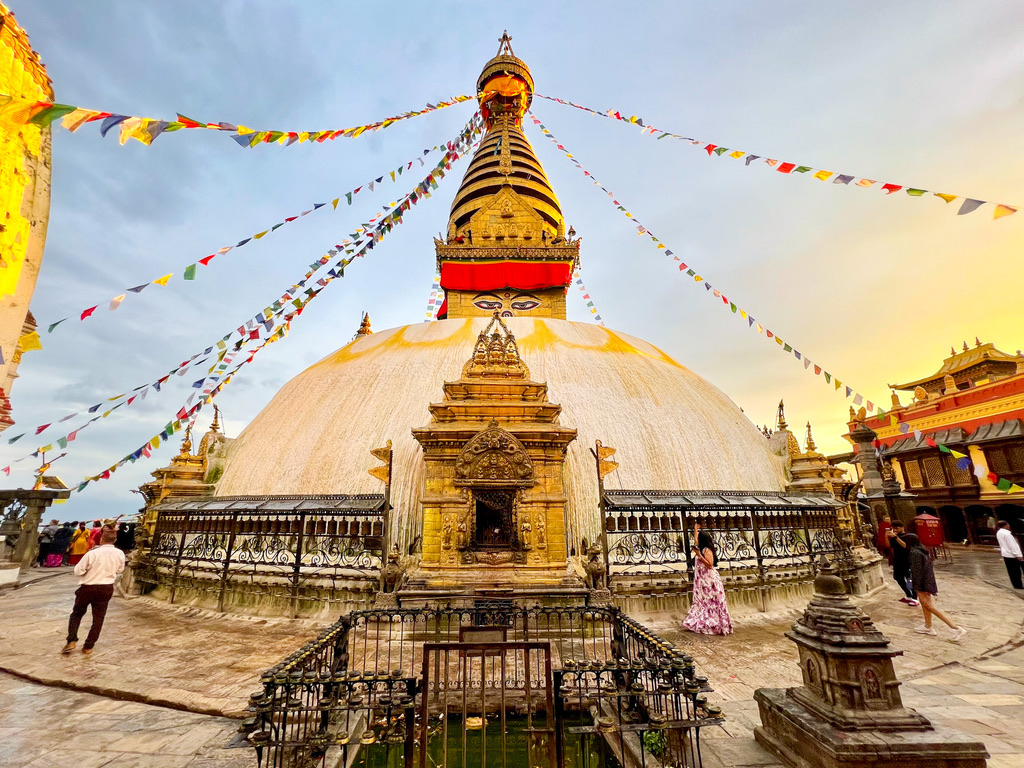
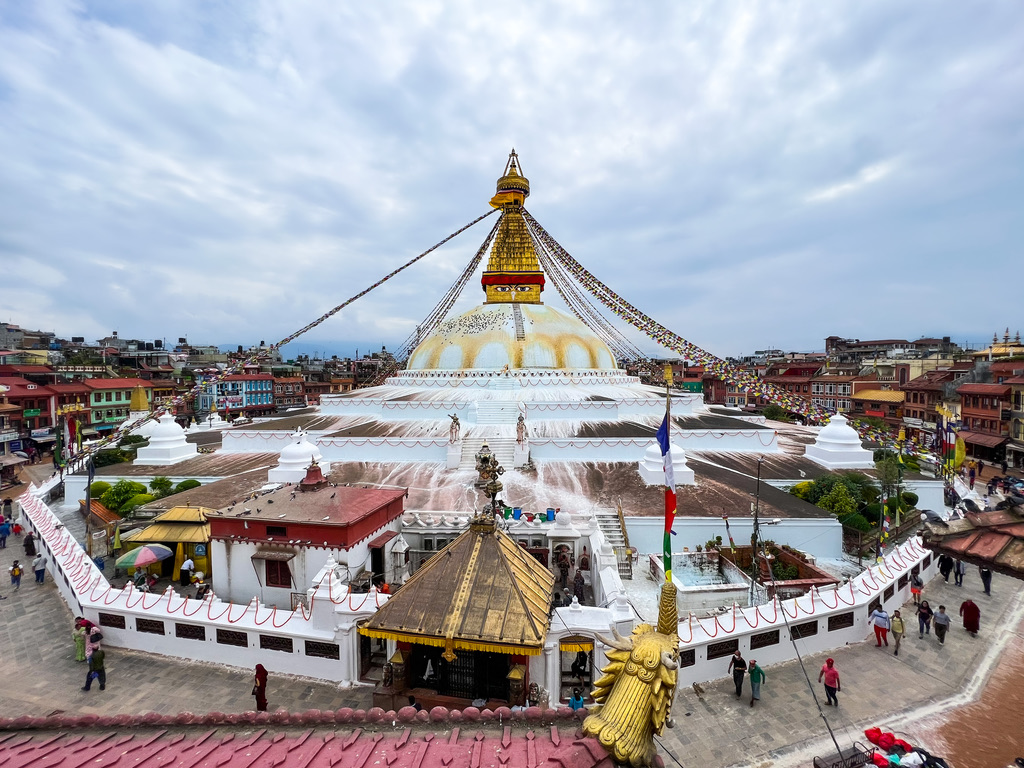
In Kathmandu there are some spectacular UNESCO world heritage sites you must see during your first trip to Nepal. Some I recommend are Bouddhanath Stupa, Pashupatinath Temple, Kathmandu Durbar Square, and Swayambhunath Stupa (Monkey Temple). It is pretty easy and reasonable to rent a taxi driver for the day to take you to these places (just make sure to be back before 6 PM!). Be careful about people giving you “free” guides in Kathmandu. A man, who said he was a student, started talking to us while we were walking to a square. We thought maybe he just wanted to practice his English while showing us around. We should have known better; the last stop was an art studio where they were selling meditation art works he wanted us to buy. First trip to Nepal key information: Guides are never free.
Having said this all, if you don’t feel like doing any planning just talk to Bhuwan and he can plan your first trip to Nepal all for you. There are so many neat things to do in Nepal and the landscape is beyond incredible. I am already looking forward to planning another trip where I go on a longer trek, maybe to one of the base camps! For more posts, like this first trip to Nepal, check out my Asia category!
31 thoughts on “First Trip to Nepal”
Each paragraph unfolds like a delicate flower, revealing more with every turn of the page.
Your writing doesn’t just tell a story; it invites the reader to live within it.
I appreciate the practical advice.
This post is exactly what I was looking for. You’ve addressed all the questions I had and provided clear, actionable advice.
Thank you for this well-researched and thorough article. The insights you’ve shared are incredibly valuable, and I’ll be referring back to this post often.
Thank you for this informative and engaging article. The examples you’ve provided make it much easier to understand the concepts you’re discussing.
Thanks for the various tips contributed on this website. I have seen that many insurance providers offer buyers generous special discounts if they opt to insure several cars together. A significant variety of households possess several autos these days, specifically those with more mature teenage young children still residing at home, as well as the savings upon policies might soon begin. So it will pay to look for a great deal.
Thank you for this informative and engaging article. The examples you’ve provided make it much easier to understand the concepts you’re discussing.
Thanks for revealing your ideas. The one thing is that students have a choice between fed student loan as well as a private student loan where it’s easier to select student loan consolidation than in the federal student loan.
Thanks for making me to achieve new thoughts about computers. I also have belief that certain of the best ways to maintain your notebook computer in excellent condition is with a hard plastic case, or even shell, that fits over the top of the computer. A lot of these protective gear tend to be model unique since they are manufactured to fit perfectly across the natural outer shell. You can buy all of them directly from owner, or from third party places if they are designed for your laptop, however its not all laptop will have a covering on the market. All over again, thanks for your ideas.
I appreciate the thorough analysis you’ve provided in this post. It’s made a big difference in my understanding of the topic.
I really appreciate the depth of information you’ve provided here. It’s clear that you’ve put a lot of thought and effort into this post, and it’s made a big difference for me.
I appreciate how you broke down this complex topic into manageable pieces. Your clear explanations and real-life examples made it so much easier to understand.
This is a really helpful resource.
Thanks for the great resource.
This is one of the best articles I’ve read on this topic. Your detailed explanations and practical advice are greatly appreciated.
I found this post incredibly useful. The tips and insights you’ve shared are going to be very helpful for my work.
This article is a fantastic resource. Your detailed explanations and practical advice are greatly appreciated.
This is one of the most informative posts I’ve read on this topic. Your clear explanations and real-life examples are incredibly helpful.
This is such a detailed and insightful post. I really appreciate the effort you put into explaining everything so clearly.
I appreciate the thoroughness of this post.
This is one of the most informative posts I’ve read on this topic. Your clear explanations and real-life examples are incredibly helpful.
Thank you for this well-written and informative article. The practical tips you’ve shared are going to be very useful for my work.
I appreciate the real-life examples.
I love how you’ve broken down this topic into easy-to-understand sections. The step-by-step approach you’ve taken is very helpful.
This is one of the best articles I’ve read on this topic. Your detailed explanations and practical advice are greatly appreciated.
Great article! I appreciate the clear and insightful perspective you’ve shared. It’s fascinating to see how this topic is developing. For those interested in diving deeper, I found an excellent resource that expands on these ideas: check it out here. Looking forward to hearing others’ thoughts and continuing the discussion!
Amy,
You provided so much helpful information. Can’t wait to travel to that part of the world. We will definitely review your travel tips when we do!
So incredible!! Thank you for the amazing tips and inspo!
Your pictures are amazing, and the insight on your trip is incredible. Can’t wait to see more of your adventures and learn about the best way to experience the places you’ve been!
Great info and great pictures!